
 Image 1 of 2
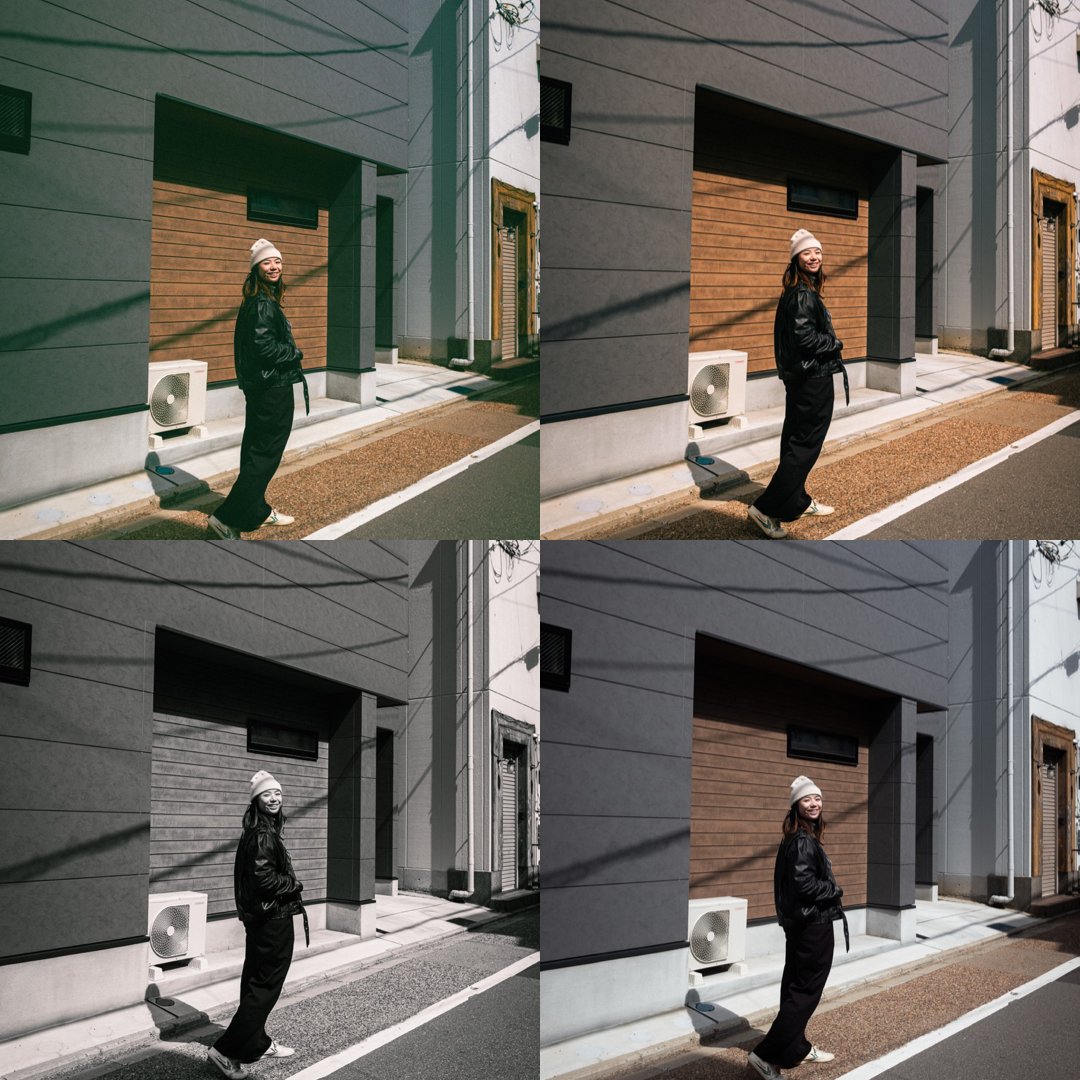 Image 2 of 2
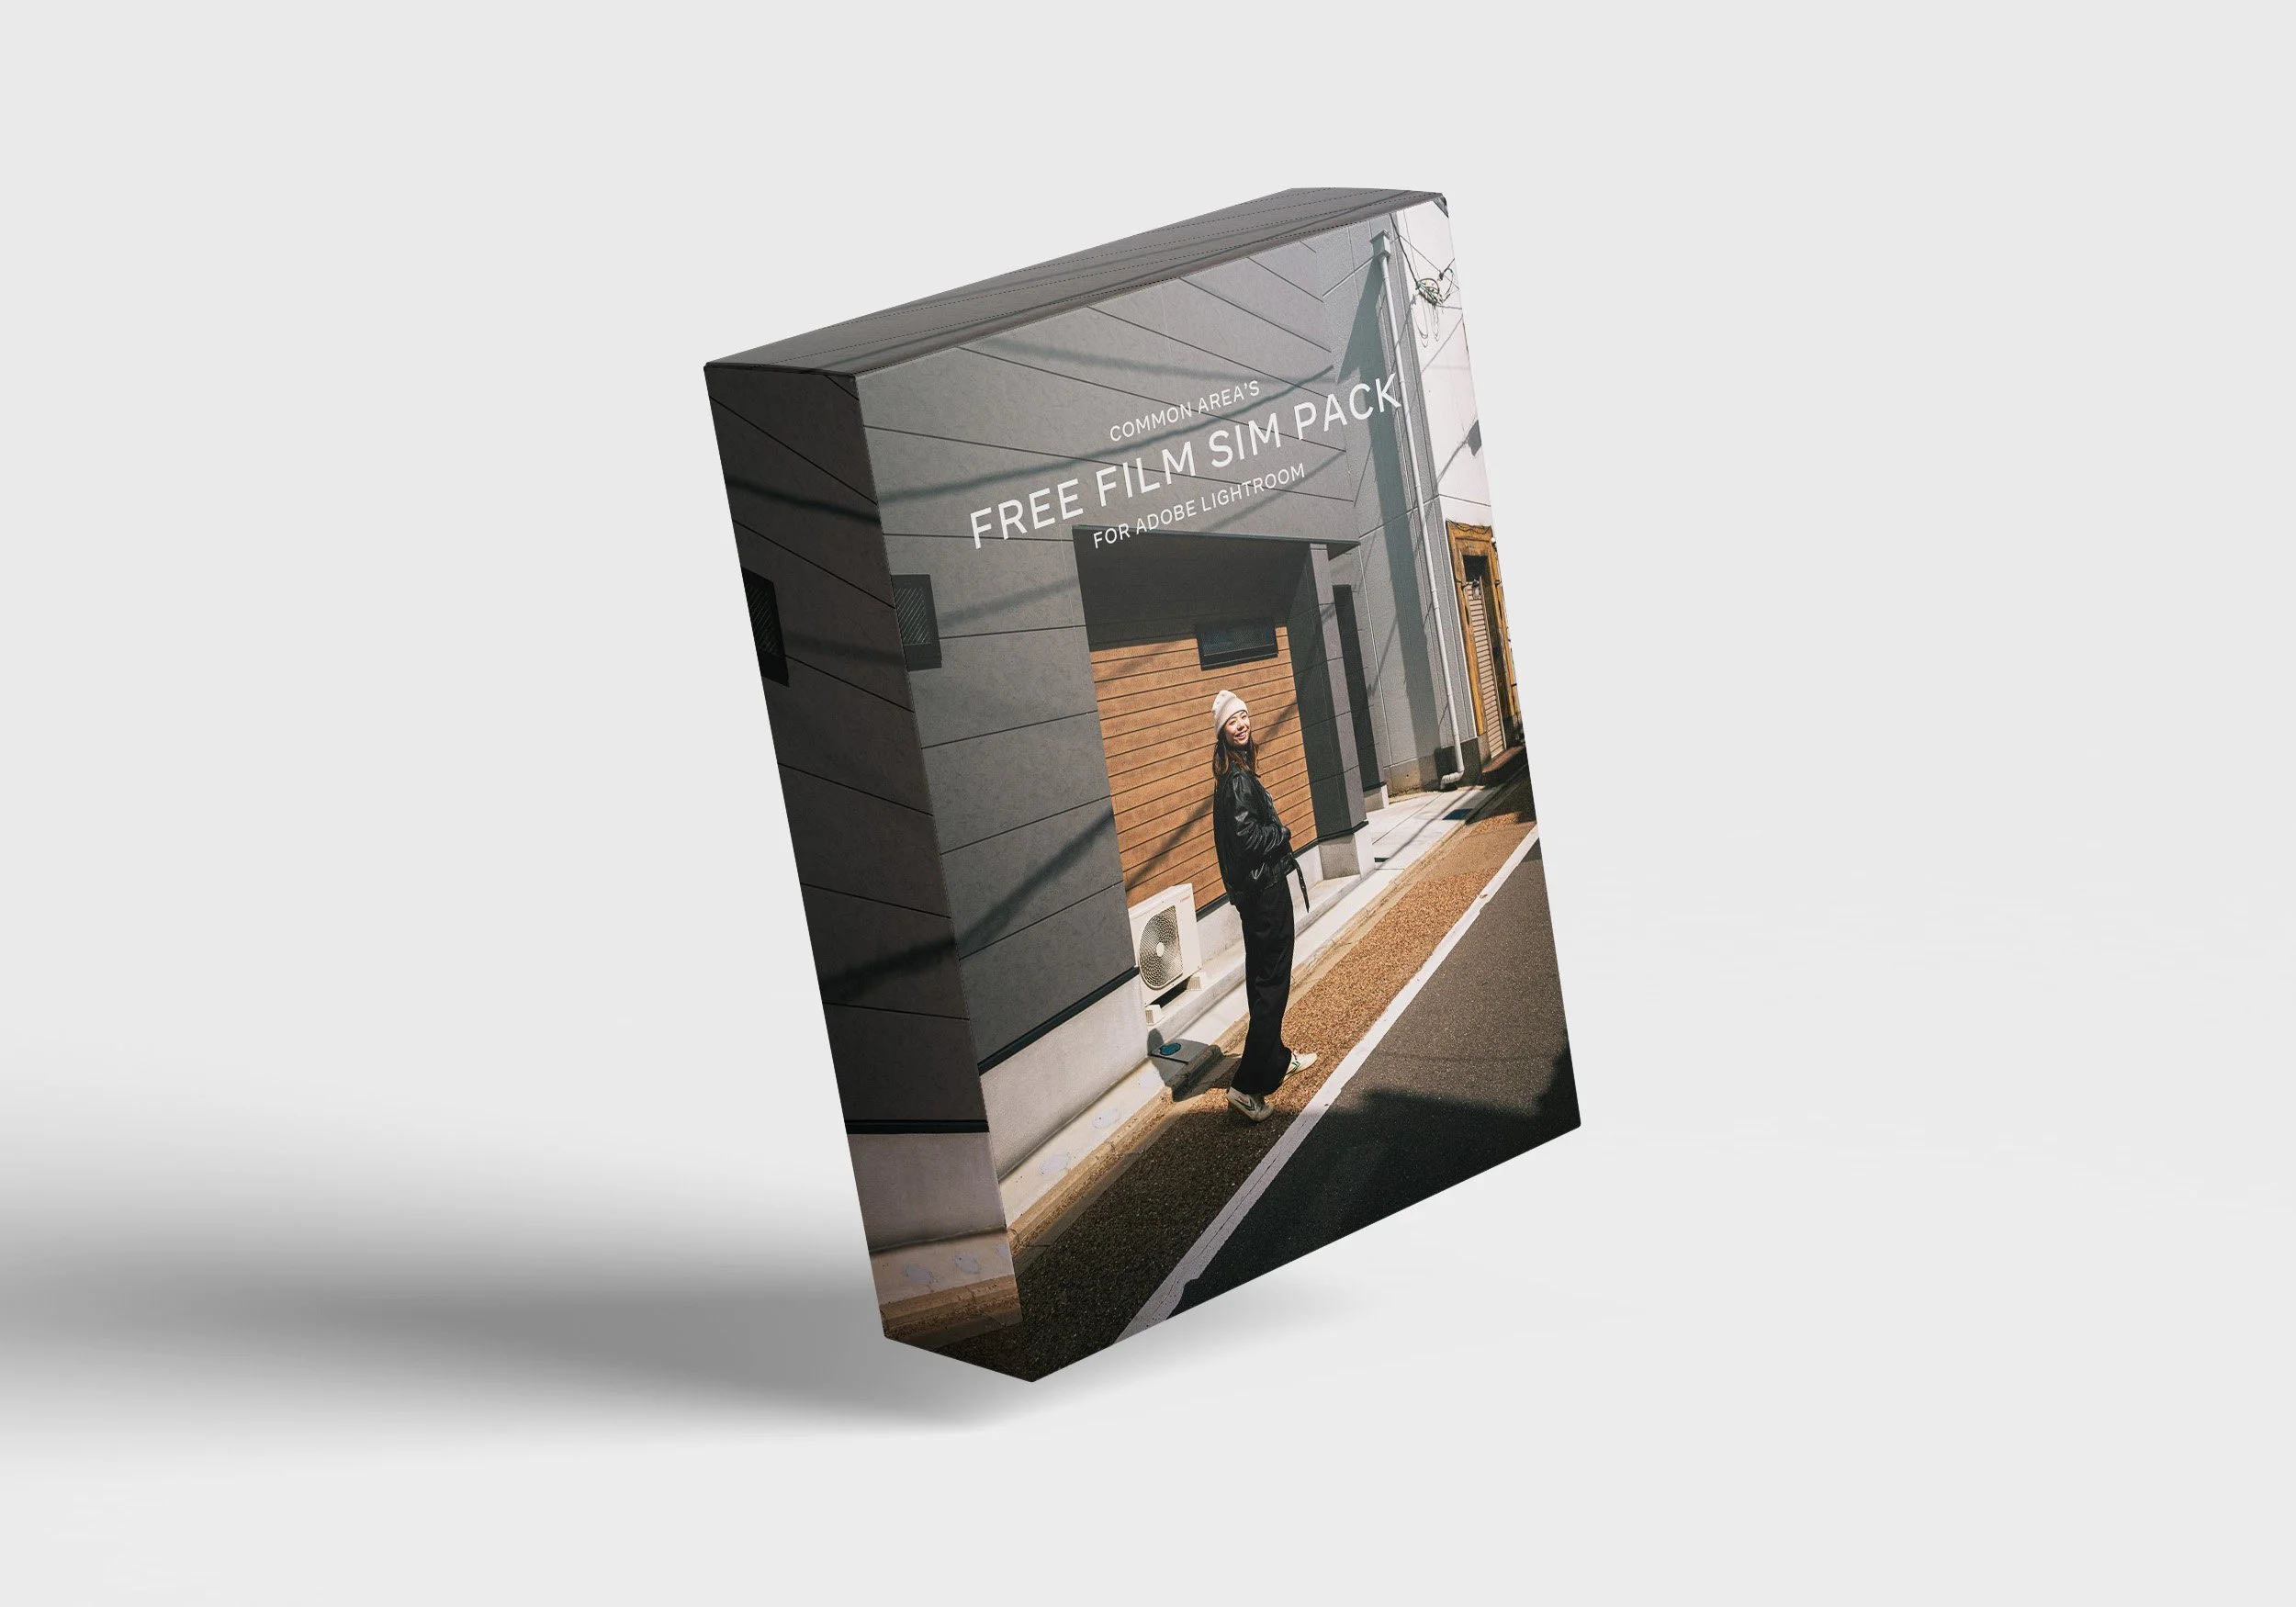
Please download this free filmic preset pack as a thank you for supporting us on social!
I’ve made these presets as a way to simplify and speed up my workflow. I use these all the time and I hope these are fun to use and helpful to you.
ABOUT THIS PACK:
4x Filmic presets (.xmp files)
-Gold standard
-Disposable sim
-Monochrome standard
-Urban muted
These presets are not a one click solution to every photo, depending on the exposure and other settings of the shots, results may vary. Please adjust the exposure accordingly. For best results, use with RAW files.
PLEASE READ:
This preset pack can be used in the desktop version of Lightroom.
To install .xmp presets into Lightroom CC, follow these steps:
Download Presets: Download the .xmp preset files to your computer or mobile device. Ensure that you have the presets ready before proceeding.
Open Lightroom CC: Launch Lightroom CC on your device. Make sure you are using the latest version to ensure compatibility with .xmp presets.
Go to Presets: In Lightroom CC, navigate to the Develop module located at the top of the screen.
Access Presets Folder: Look for the Presets section on the left side of the Develop module. Right-click on any preset folder and select "Import...".
Locate .xmp Presets: A window will pop up allowing you to browse your computer or device. Find the folder where your downloaded .xmp presets are located and select them.
Open Presets: Click on the presets you want to install or select all of them if preferred. Then, click on the "Import" button.
Enjoy New Presets: The .xmp presets are now imported into Lightroom CC. You can find them in the Presets section under User Presets for future use.
By following these steps, you will be able to successfully install .xmp presets into Lightroom CC and enhance your editing workflow.